A quick note before describing the use of VNC for transferring files to OpenPlotter.
Transferring files to OpenPlotter can be tricky and time consuming if your using USB sticks or Drives.
One thing you need to check before starting is to make sure USB sticks or Drives are formatted with Fat32 like the SD cards used in the Raspberry Pi.
Another option is to copy the files directly from the web, I get our anchorages .GPX and .kap from the web. A good source is
Terrys site http://yachtvalhalla.net/navigation/terrystopics.htm
How we use VNC to transfer files to OpenPlotter
With the Wi-Fi access point in operation we were able to use the VNC remote desktop on the PC once we installed the app.
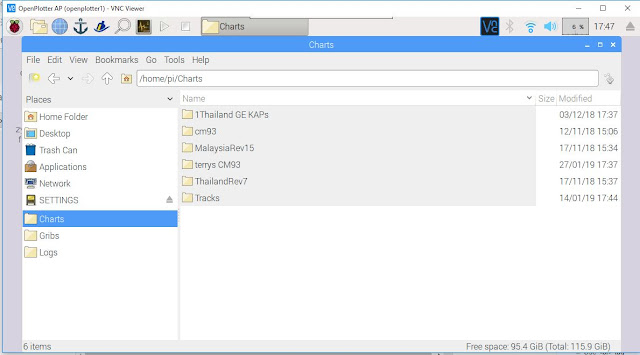
This allows us to transfer the files between the PC and the OpenPlotter desktop then into the target directory, for example layers or charts. The thing we like is that its fast and it can transfer the whole CM93 folder over in a matter of minutes. We put the files onto the desk top in a directory and then copy the directory into the Charts directory on OpenPlotter by cutting them off the desk top and pasting into the folder.
To get
VNC on the PC or just about any other device, the app is here:
https://www.realvnc.com/en/connect/download/viewer/
The
OpenPlotter Raspberry already has the VNC server installed.
After the VNC is installed on the PC firstly we log on to the OpenPlotter Wi-Fi access point.
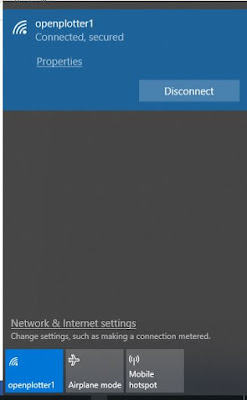 |
| We log on to the OpenPlotter access point. |
Open the VNC program on the PC, then open a new connection window (under the File button) now type in 10.10.10.1 into the VNC server box, we use OpenPlotter AP as the friendly identifier. Click ok, the program will now try and connect to OpenPlotter. If this part works you will be asked to put in the password you have selected for the user pi and hopefully the OpenPlotter desk top opens on your PC.
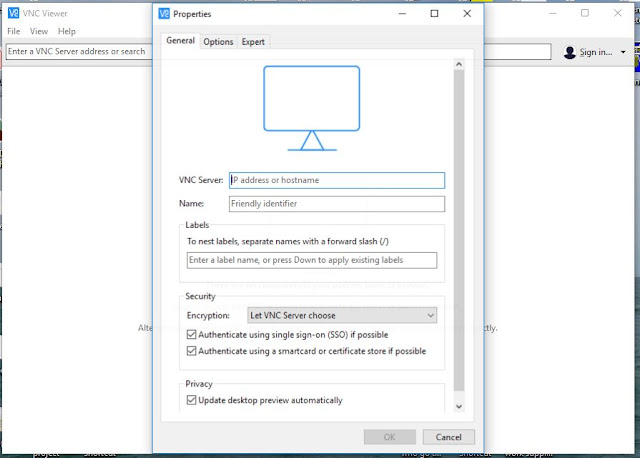
Open VNC to start the log on process.
 |
| Open the VNC program on the PC, then open a new connection window (under the File button) |
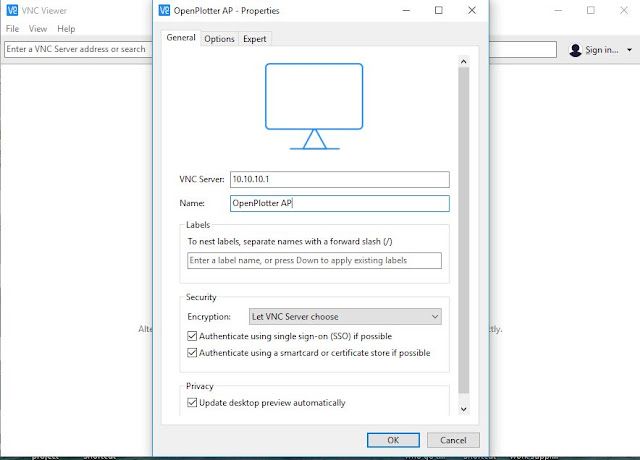 |
| Now type in 10.10.10.1 into the VNC server box, we use OpenPlotter AP as the friendly identifier |
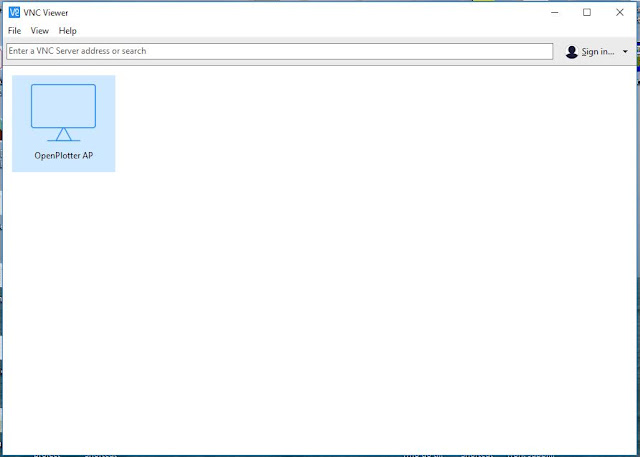 |
| New connection is ready to go double click on the icon |
 |
| PC is connecting to OpenPlotter desktop |
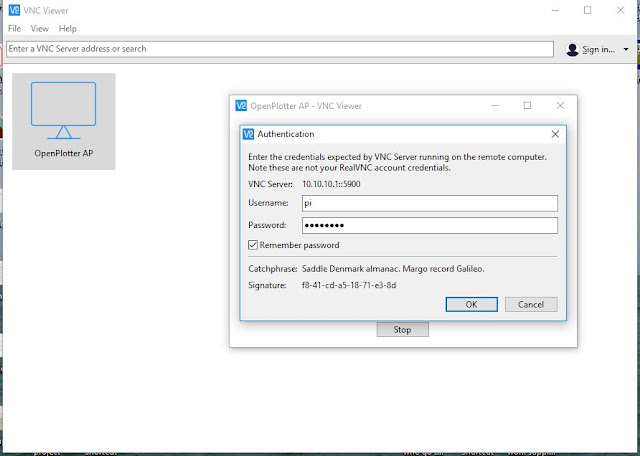 |
| Log in as pi and use the password you selected in the Raspberry Pi Configuration, tick the remember password if you logging on regularly |
 |
| Logged onto OpenPlotter desktop now displayed on laptop |
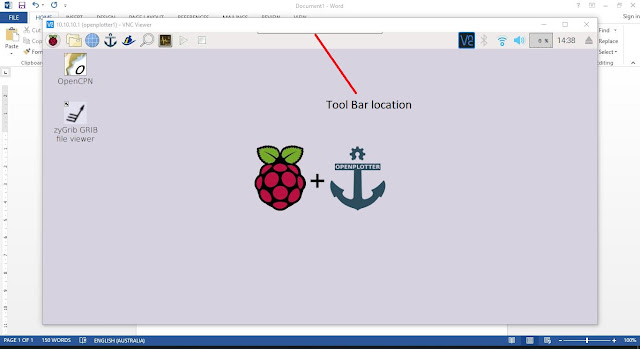
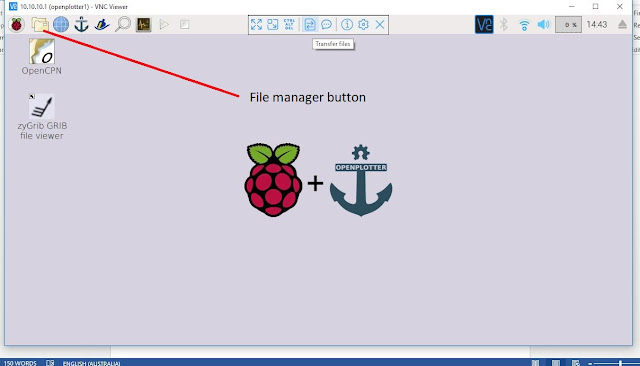
On the top of the OpenPlotter desk top in the centre of the top of the screen is the outline of a small drop down tool bar. The file transfer button is found here.
 |
| To find the desktop Tool Bar look to the top of the screen |
 |
| Select the file transfer button as pictured |
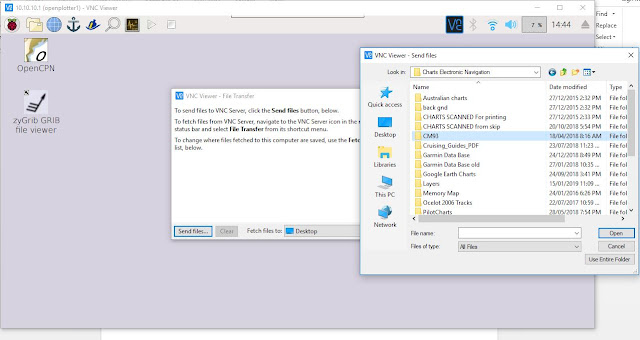 |
| Select the files you want to transfer from the laptop by selecting the Send files button, once selected, by pushing the Open or Use Entire Folder button the transfer starts |
 |
| Pop up window showing transfer progression |
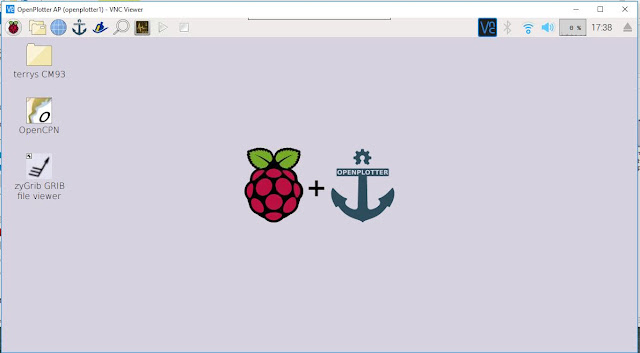 |
| File folder (terrys CM93) has been transferred to the OpenPlotter desktop |
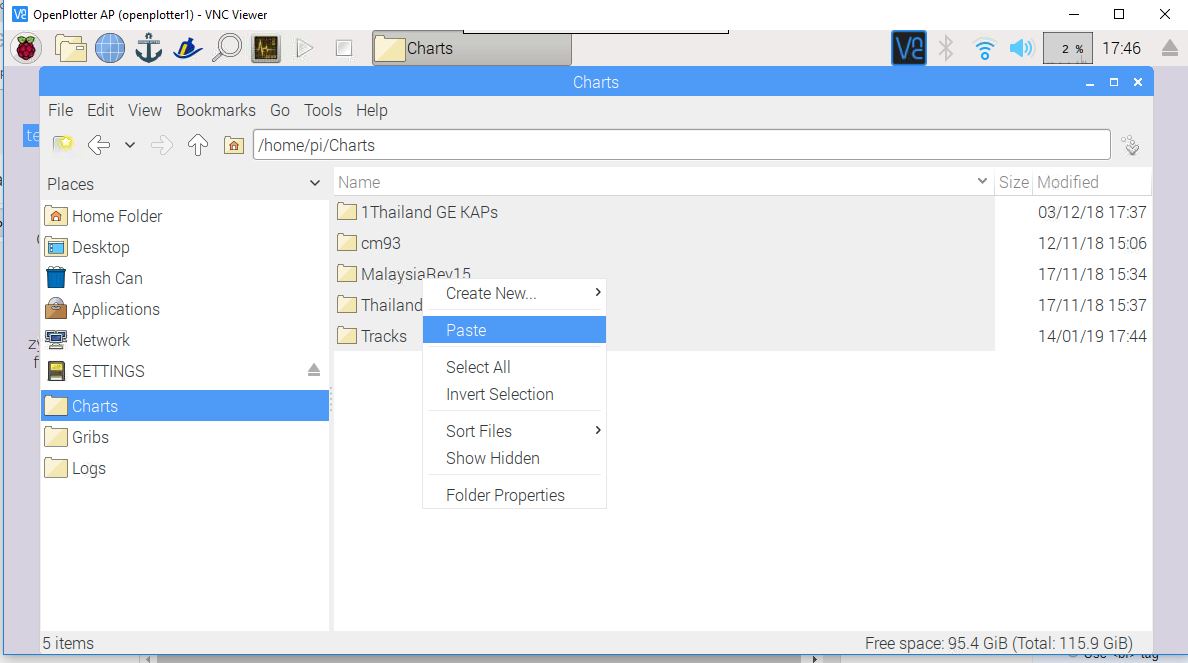
Using the file manager we cut the folder from the desktop and paste it into the charts folder
 |
| Cut the folder from the desktop |
 |
| Open the File Manager |
 |
| Paste the folder into the target folder in this case Charts |
 |
| Finished file transfer done |


No comments:
Post a Comment