Monday, 28 January 2019

Setting up layers folder in OpenPlotter - OpenCPN


Setting up Layers in OpenCPN on a Raspberry Pi to display routes, tracks and waypoints.

What are Layers?
Layers are one or more routes, tracks or waypoints that have been saved together into a single .gpx file. The GPX file is used to transfer GPS related information and is referred to the as GPS Exchange format.

Why set up Layers?
A layer is protected from changes.  For example waypoints in a .gpx file can be imported either as “waypoints” or as a layer. The difference is that when imported as a layer it cannot be changed or deleted. Importing the lot as “waypoints”can also make your Raspberry Pi sluggish. The Raspberry Pi can be bogged down reading and keeping tab of all the additional waypoint information in an area you may not even be in or interested in. The flow on effect of being able to turn off layers is better usage of the Raspberry Pi resources including processor speed, memory usage and flow on effect power consumption.

On the other hand what happens when an updated set of waypoints comes along? The only way to change a group of imported “waypoints” is to delete the old ones usually one by one. Of course you could leave the old ones but the whole thing then becomes messy.  With layers you can turn the old off and be running on the new set in minutes. When several single waypoints or a large group are imported as one Layer they can quickly be hidden from view when not in use to stop screen clutter.

We have lost count of the number of times we have accidentally moved a waypoint. If you catch it straight away you can use the undo move waypoint button, however if you don't you will have to get the info from the last backup. Having a protected set of routes, tracks or waypoints makes a lot of sense.

The OpenCPN manual is good but recently I have had to help several cruisers get the layers folder set up and running. The manual is written by people who know their way around a Raspberry Pi, however if you’re not tech savy it can test your limits. Here is the link to the online OpenCPN manual for Layers.

The following will show you how to set up to run “Permanent Layers”. These are Layers (GPX files) that are saved in a folder called “layers” and are automatically loaded on start of OpenCPN.

Important bit of information is that the layer directory name must be done in lower case, don't capitalise the first letter.

Usually the first hurdle is finding the place to put the new folder in the first place, this will require you to create the folder: /home/pi/.opencpn/layers

I want to show how to:
Find the folder to create the layers folder in.
Create and set up the layers folder.
Copy a known GPX file into the Layers folder (downloaded from Terrys web site)

Testing the Layers GPX file has been read

First thing to do is make sure OpenCPN is not running, you may even want to restart OpenPlotter.

The following screen captures were done on a laptop using the VNC remote desk top. See setting up VNC in the file transfer entry here.

Open the file manager using the File Manager button

The file manager opens in the /home/pi folder (directory)

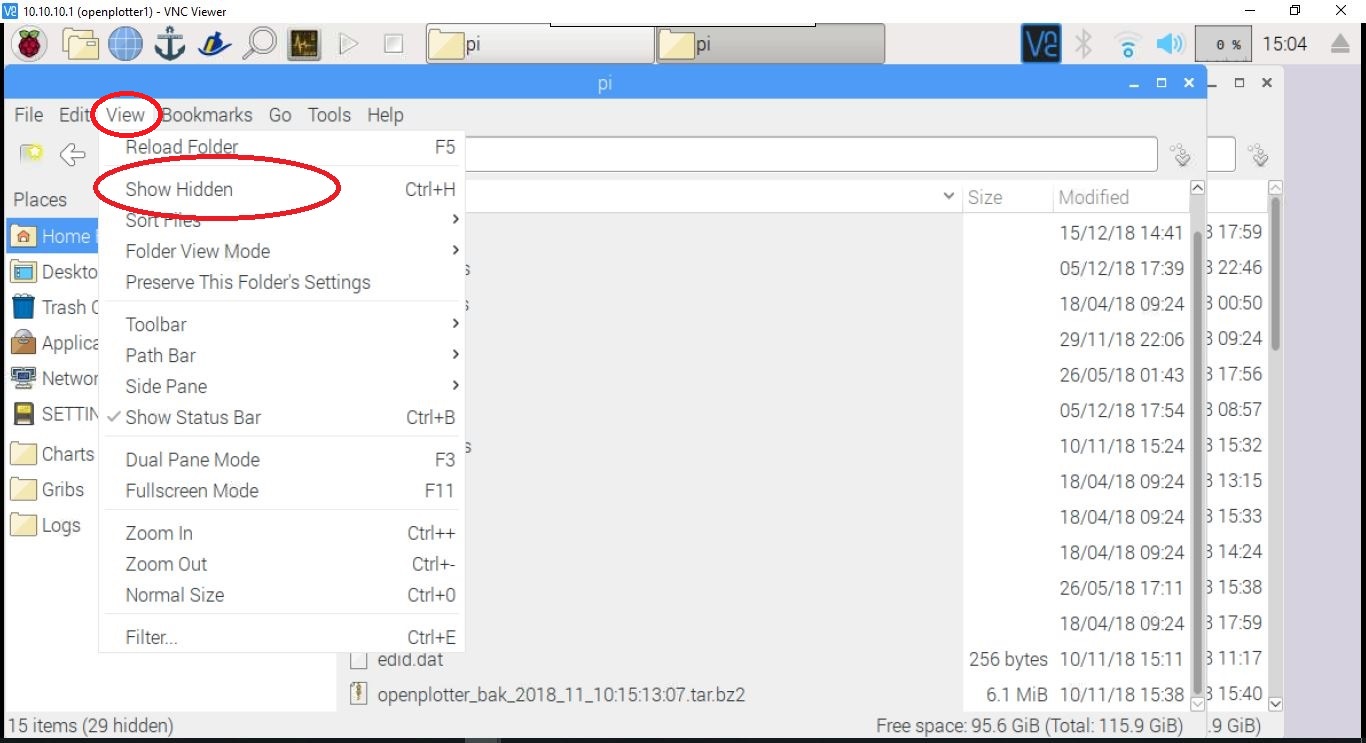
Click on the View button in the tool bar, look for Show Hidden button
Select the Show Hidden button, as seen here the tick indicates the hidden files will now be seen

Scroll up and you now should start to see file names beginning with a . (full stop) look for .opencpn and open it

By clicking into the white section of the open folder right click the mouse and create a new Folder called layers
As seen here is the freshly created folder called layers (Remember it needs to be all lower case letters)

Copy files to the Raspberry Pi, we use VNC and transfer the files over the Wi-Fi quick and easy. The files are placed on the desktop (as seen here) to be copied into the destination folder. 

We have a description of how we transfer files to OpenPlotter here

Open the file manager and then .opencpn  (/home/pi/.opencpn folder)
Cut the transferred file from the desktop. Picture showing layers folder open and some previously transfered GPX files copied into the layers folder. 
Paste the file into the open layer directory.
All done the GPX file copied to the layers directory
I now un-tick the show hidden button, while its not necessary for the operation it safe guards accidental moving or erasing the system files. 
To check layers work open the Route and Mark Manager. 
As can be seen here the files copied to layers folder are ready to use. The eye symbol on the left side of the open window indicates the file will display the routes tracks and way-points on to the OpenCPN  chart.
Its simple to turn off a layer, just simply click the eye symbol. As seen here the eyes with the red cross will not be displayed.
The anchorages and tracks displayed here are part of the visible Thailand layers

Testing the Layers GPX file has been read, open a waypoint to check the properties, as you can see in the properties box "This waypoint is part of a layer and can't be edited"


Transferring files to OpenPlotter

A quick note before describing the use of VNC for transferring files to OpenPlotter.

Transferring files to OpenPlotter can be tricky and time consuming if your using USB sticks or Drives.

One thing you need to check before starting is to make sure USB sticks or Drives are formatted with Fat32 like the SD cards used in the Raspberry Pi.

Another option is to copy the files directly from the web, I get our anchorages .GPX and .kap from the web. A good source is Terrys site  http://yachtvalhalla.net/navigation/terrystopics.htm

How we use VNC to transfer files to OpenPlotter

With the Wi-Fi access point in operation we were able to use the VNC remote desktop on the PC once we installed the app.

This allows us to transfer the files between the PC and the OpenPlotter desktop then into the target directory, for example layers or charts.  The thing we like is that its fast and it can transfer the whole CM93 folder over in a matter of minutes. We put the files onto the desk top in a directory and then copy the directory into the Charts directory on OpenPlotter by cutting them off the desk top and pasting into the folder.

To get VNC on the PC or just about any other device, the app is here: https://www.realvnc.com/en/connect/download/viewer/

The OpenPlotter Raspberry already has the VNC server installed.

After the VNC is installed on the PC firstly we log on to the OpenPlotter Wi-Fi access point.

We log on to the OpenPlotter access point.

Open the VNC program on the PC, then open a new connection window (under the File button) now type in 10.10.10.1 into the VNC server box, we use OpenPlotter AP as the friendly identifier. Click ok, the program will now try and connect to OpenPlotter. If this part works you will be asked to put in the password you have selected for the user pi and hopefully the OpenPlotter desk top opens on your PC.

Open VNC to start the log on process.

Open the VNC program on the PC, then open a new connection window (under the File button) 


 Now type in 10.10.10.1 into the VNC server box, we use OpenPlotter AP as the friendly identifier


New connection is ready to go double click on the icon


PC is connecting to OpenPlotter desktop


Log in as pi and use the password you selected in the Raspberry Pi Configuration, tick the remember password if you logging on regularly

Logged onto OpenPlotter desktop now displayed on laptop

On the top of the OpenPlotter desk top in the centre of the top of the screen is the outline of a small drop down tool bar. The file transfer button is found here.

To find the desktop Tool Bar look to the top of the screen

Select the file transfer button as pictured

Select the files you want to transfer from the laptop by selecting the Send files button, once selected, by pushing the Open or Use Entire Folder button the transfer starts 
Pop up window showing transfer progression

File folder (terrys CM93) has been transferred to the OpenPlotter desktop

Using the file manager we cut the folder from the desktop and paste it into the charts folder
Cut the folder from the desktop

Open the File Manager
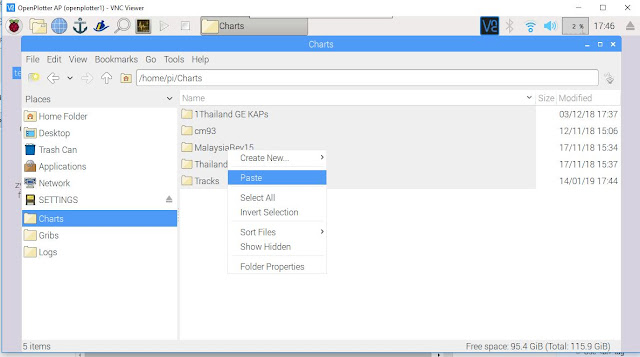
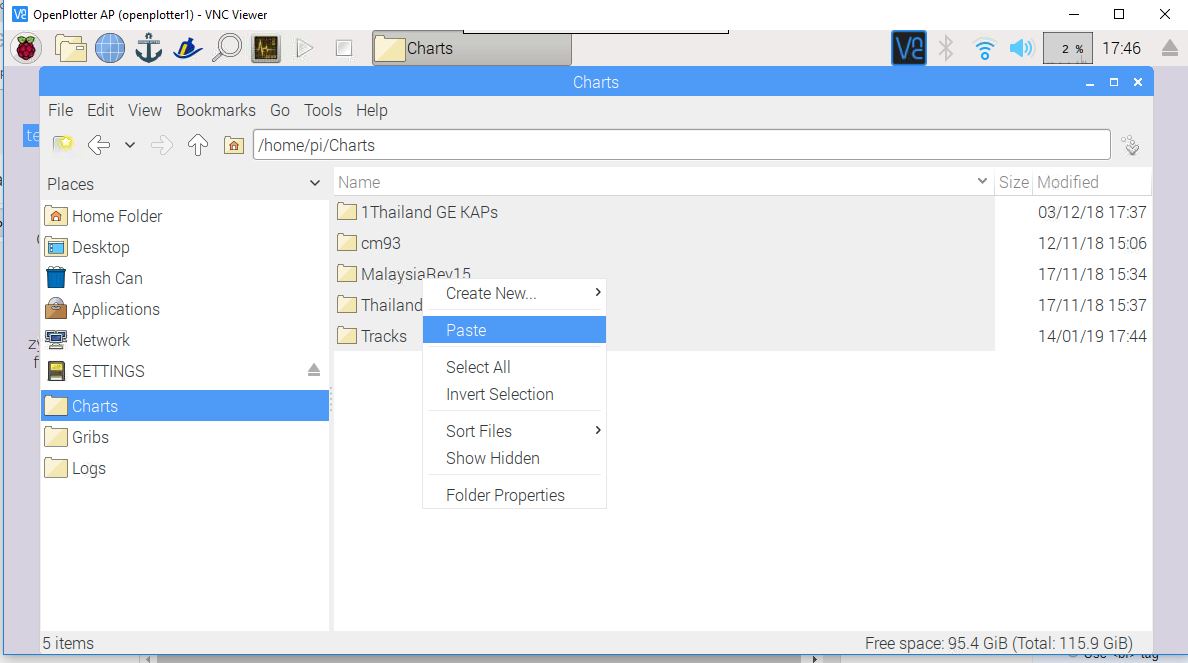
Paste the folder into the target folder in this case Charts


Finished file transfer done 


Saturday, 19 January 2019

ANZAC Biscuits


125g Butter
2         Tbs golden syrup
1         Tsp Baking soda
1         Tbs Boiling water
1/2         Cups Coconut
1         Cup rolled oats
3/4         Cup of flour

Melt butter golden syrup in a saucepan large enough to hold and mix all ingredients. Once melted cool slightly, Dissolve baking soda in in the tablespoon of boiling water and add to the sauce pan with the remaining ingredients. Mix well. Place rounded teaspoon of mixture on to an oven tray covered with baking paper, (alternative is a greased baking tray), allowing room for spreading, flatten the balls with the back of a spoon.

Bake at 180 deg C for 10-15 minutes or until golden.

Remove from tray quickly after removing from the oven and cool on a wire rack. Store in an air tight container.

Matilda's Tomato Chutney


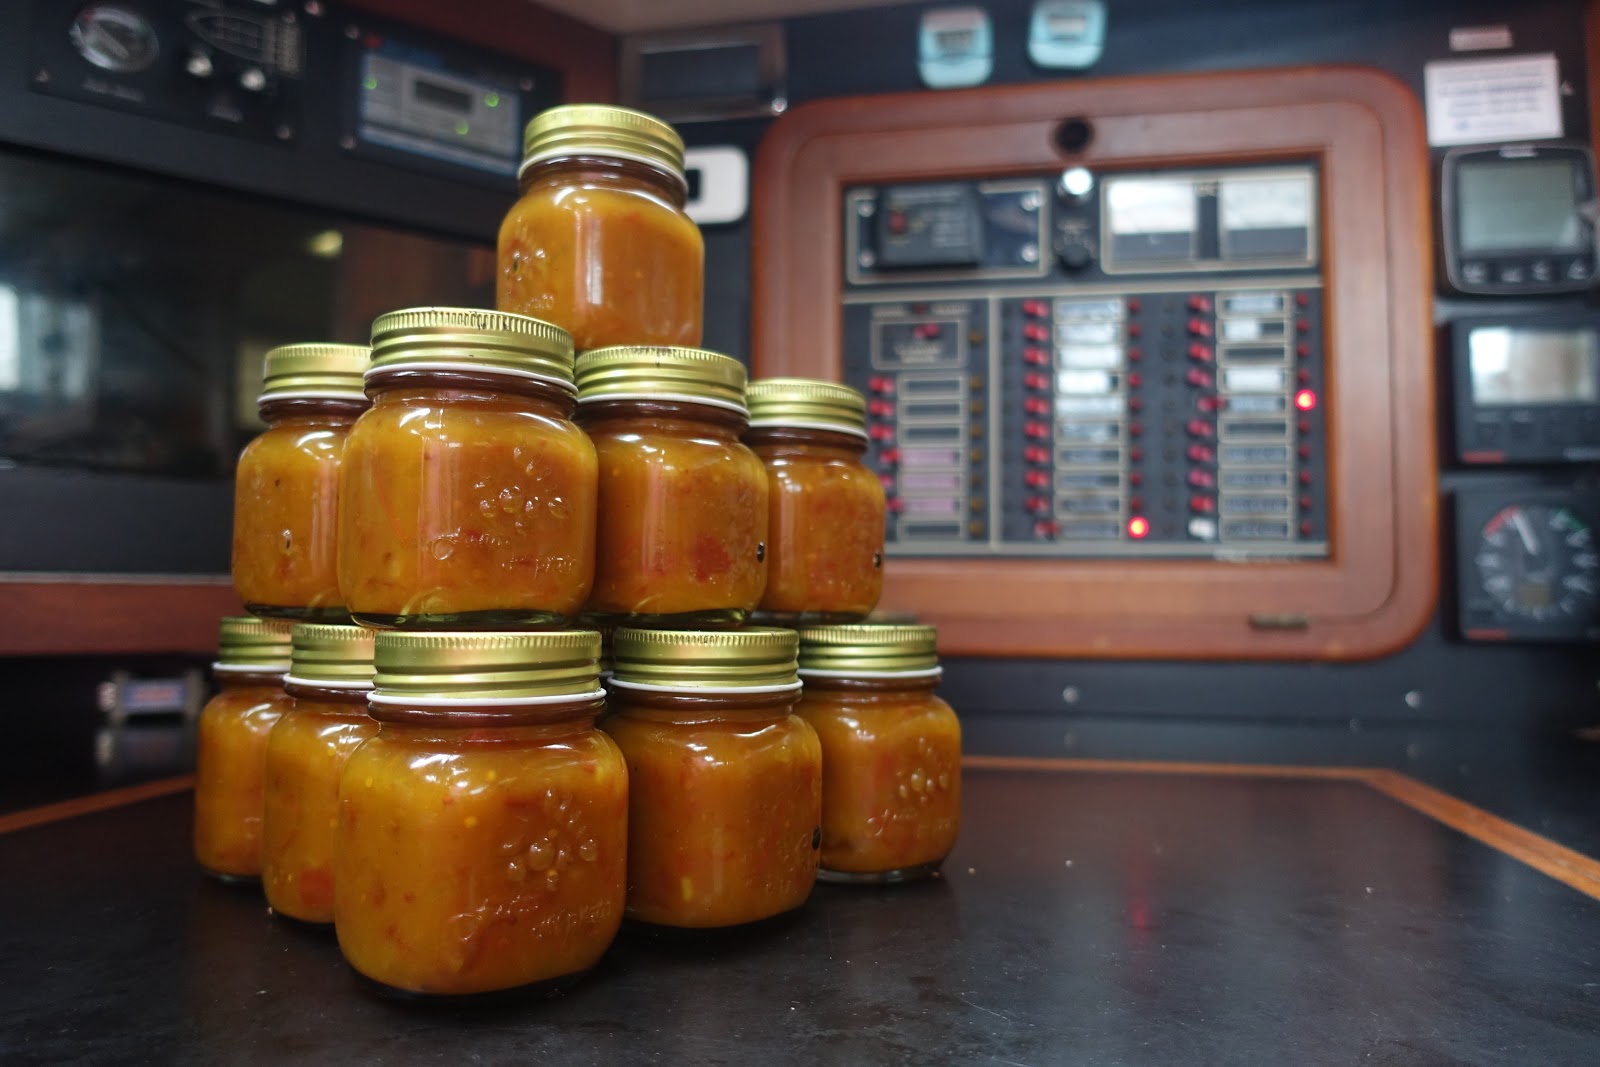
This chutney works as a condiment with all sorts of food, we use it in place of tomato sauce or ketchup on burgers. It's great when we put together a plough-mans lunch, or add it on sandwiches.  We have also found its great with sausages and mash, and as a side on an after dinner cheese board or spread on crackers as a pre-dinner drinks snack.

INGREDIENTS
·         1 ½ kilos ripe tomatoes (vine ripened are very good)
·         ½ kilo onions (we use brown)
·         ½ kilo sugar
·         2 teaspoons of salt
·         Pepper to taste
·         1 tablespoon curry powder
·         1 ½ tablespoons mustard
·         2 tablespoons plain flour
·         Vinegar – white (don’t use brown or apple cider)

METHOD
·        Slice tomatoes and onions evenly
·        In a large boiler add the onions and tomatoes
·       Add the salt & sugar
·      Cover with vinegar
·       Bring to the boil and then simmer for 20 minutes with the lid on
·       Mix the curry powder, mustard & flour together into a paste with a bit of vinegar to a thick consistency like cream and then power slowly into the chutney mix stirring while doing so
·       Add a few grinds of pepper
·       Simmer for 30 minutes with the lid on
·       Taste for any salt or sugar adjustment
·       Put a teaspoon of the mix onto a plate and let it cool – to check the thickness you should be able to turn the plate upside down and not have the mixture fall off straight away.
·       If it’s too runny mix another tablespoon of plain flour in vinegar to make a paste and add to the chutney mix.

PRESERVING JARS
·         You will need about 4 x 350gram preserving jars (buy them from supermarket– red and white lids)
·         Wash in very hot water
·         Spoon the hot chutney mix in
·         Put the lids on and turn upside down on a protected surface and leave until cool


Bruce's Tomato Chutney


Discover this easy tomato chutney recipe, the perfect way to complement a piece of hard cheese; try this recipe today. Perfect on toast with a chunk of cheddar.

INGREDIENTS
•             2 kilos ripe roma tomatoes
•             3/4 kilo onions (we use brown)
•             2 capsicums (red Bell Peppers) 
•             3/4 kilo sugar
•             2 teaspoons of salt
•             Pepper to taste
•             2 tablespoons plain flour
•             Vinegar – Red wine & Balsamic 50/50 (don’t use white, brown or apple cider)

METHOD
•             Slice tomatoes and onions evenly
•             In a large boiler add the onions and tomatoes
•             Add the salt & sugar
•             Cover with vinegar
•             Bring to the boil and then simmer for 20 minutes with the lid on
•             Mix the flour together into a paste with a bit of vinegar to a thick consistency like cream                      and then pour slowly into the chutney mix stirring while doing so
•             Add a few grinds of pepper
•             Simmer for 30 minutes with the lid on
•             Taste for any salt or sugar adjustment
•             Put a teaspoon of the mix onto a plate and let it cool – to check the thickness you should be                 able to turn the plate upside down and not have the mixture fall off straight away.
•             If it’s too runny cook for a further 20 minutes, then if its still too runny mix another                              tablespoon of plain flour in vinegar to make a paste and add to the chutney mix.

PRESERVING JARS
•             You will need about 6 x 300 gram preserving jars (red and white lids)
•             Wash in very hot water
•             Spoon the hot chutney mix in
•             Put the lids on and turn upside down on a protected surface and leave until cool

Oven roasted  capsicums (Bell Peppers) are a nice addition to this recipe in place of fresh ones. 

Lemon Cake


Forget about making lemonade when you have lemons. Save them to whip this little beauty up and enjoy the fresh clean zingy taste of lemons in this wonderfully textured cake. Its a double delight with the flavour bursting from the top and bottom of the cake. If anything's worth taking a little tea break for, it's a wedge of this lemon cake.

120         g butter
1        cup fine granulated sugar
2        eggs
2        Tbs lemon zest
1 1/2 cups flour
1/4         tsp baking soda
1/2         tsp baking powder
1/2         tsp salt
1 1/2 tbs  Lemon Juice
100         ml  cream / butter milk
1         tsp vanilla extract

lemon syrup:
1/4           Cup fine granulated sugar
1/4           Cup Lemon Juice

Icing:
1               Cup icing sugar
1 3/4         Tbs lemon juice (enough to make a thick smooth mixture)

Preheat oven to 180°C / 350°F.
Grease and flour 1 x 8 1/2 inch pan, lining the bottom with baking paper.

Cream, using whisk, butter and 1 cup of fine granulated sugar in bowl till light and fluffy.
Whisking add eggs, 1 at a time, and the lemon zest.
Sift together flour, baking powder, baking soda and salt into a bowl.

In another bowl, combine 1 1/2 tbs lemon juice, cream or buttermilk and vanilla.
Whisking together until smooth. Alternately add flour and buttermilk mixtures to batter, beginning and ending with flour mixture.

Pour batter into the pan and smooth the top.
Bake 45 minutes- 1 hour, until tester comes out clean.

When the cake is cooked, cool 10 minutes.

Meanwhile, combine 1/4 C fine granulated sugar and 1/4 C lemon juice in small saucepan, cooking over low heat until sugar dissolves.

Remove cake from pan and set on wire rack over a larger baking tray (best to set upside down on rack so that syrup is spooned onto the bottom of the cake as it will absorb better than spooning over the top).

Spoon and spread lemon syrup over base of the cake.

Allow the cake to cool completely.

Icing: Combine sifted icing sugar and lemon juice in a bowl, mixing with whisk until smooth.

Ginger Crunch


Ginger Crunch Slice is just like Nanna used to bake. It has a caramelly and gooey ginger crunch on top and a delicious shortbread style biscuit underneath.  The two together are a fantastic. Serve this slice in tiny squares, with a fresh pot of tea or coffee.

150g Butter
1/2         Cup sugar
1 1/2 Cups flour
1         Tsp Baking powder
1 1/2 Tsp Ground Ginger
1         Tbs finely grated fresh Ginger

Ginger Icing
50g Butter
1 Tbs golden syrup
1/2 Cup icing sugar
1/2 Tsp ground ginger
1/4 Cup crystallised Ginger finely chopped

The Crunch
Melt butter on a very low heat in a saucepan big enough to mix all the ingredients. Remove from heat and mix in the sugar, sift the flour, baking powder and ginger into the saucepan. Mix until combined then press into a 30 x 20 cm cake tin. Bake at 180 deg C for 20 - 25 minutes until lightly golden. Ice when still warm and cut into squares. Sprinkle with crystallised Ginger.

Ginger Icing
Melt butter and golden syrup, mix in icing sugar and ginger  until well combined.